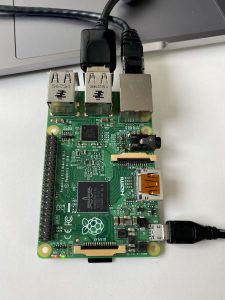
What do you do with an old Raspberry Pi? Yesterday I was cleaning up my desk and saw this older unused Raspberry Pi 2 model B. So I was thinking what to do with it? I’m always using my desk computer for printing, while I work on my MacBook Pro 99,99%. So I decided to make a printserver with this old little fellow.
Normally I would use my home server for this kind of tasks. Yet the location where I want to have my printer, is not on the same place in my office where I want to have the printer. It was placed on my desk, yet I could use some more free space. In the corner of my office there’s this small place where I want to have the printer. Yet there is no network wiring there. Another problem is: WiFi was introduced since Raspberry Pi 3, and my Raspberry Pi 2 doesn’t have WiFi.
Adding WiFi support to the Raspberry Pi 2
I have this little TP-LINK W823N USB dongle (RTL8192 chipset). It is recognised (I can see the name in the dmesg), yet there is no wlan0 device. After searching it seems that “they” dropt the support for RTL8192 chipset and I had to compile the driver manually.
$ lsusb
Bus 001 Device 005: ID 04e8:3301 Samsung Electronics Co., Ltd ML-1660 Series
Bus 001 Device 004: ID 2357:0109 TP-Link TL WN823N RTL8192EU
Bus 001 Device 003: ID 0424:ec00 Standard Microsystems Corp. SMSC9512/9514 Fast Ethernet Adapter
Bus 001 Device 002: ID 0424:9514 Standard Microsystems Corp. SMC9514 Hub
Bus 001 Device 001: ID 1d6b:0002 Linux Foundation 2.0 root hub
Installing the needed packages and compiling the driver
First we need to update the system:
$ sudo apt update
If there are updates, install them:
$ sudo apt upgrade -y
When everything is up to date, we install the necessary packages:
$ sudo apt-get install git raspberrypi-kernel-headers build-essential dkms -y
Next is cloning the driver, and modifying the Makefile for the right platform. By default this is i386. This must be changed to the ARM platform:
$ git clone https://github.com/Mange/rtl8192eu-linux-driver
$ cd rtl8192eu-linux-driver
Edit the Makefile with your favourite editor and change the following two options:
CONFIG_PLATFORM_ARM_RPI = y
CONFIG_PLATFORM_I386_PC = n
Next we need to add the driver to DKMS:
$ sudo dkms add .
Now we can build and install the driver:
$ sudo dkms install rtl8192eu/1.0
Building the driver may take some time. After installing we’ll force the RTL8192EU driver to be active from boot:
$ echo -e "8192eu\n\nloop" | sudo tee /etc/modules
$ echo "options 8192eu rtw_power_mgnt=0 rtw_enusbss=0" | sudo tee /etc/modprobe.d/8192eu.conf
Last we need to update changes to initramfs:
$ sudo update-initramfs -u
Last we’ll reboot the Raspberry Pi. After reboot the wlan0 interface is present.
$ ifconfig
eth0: flags=4163<UP,BROADCAST,RUNNING,MULTICAST>  mtu 1500
        inet 192.168.0.146  netmask 255.255.255.0  broadcast 192.168.0.255
        inet6 fe80::a3b4:3d63:3497:b6cb  prefixlen 64  scopeid 0x20<link>
        ether b8:27:eb:95:18:76  txqueuelen 1000  (Ethernet)
        RX packets 276447  bytes 102863621 (98.0 MiB)
        RX errors 0  dropped 0  overruns 0  frame 0
        TX packets 13460  bytes 4478426 (4.2 MiB)
        TX errors 0  dropped 0 overruns 0  carrier 0  collisions 0


lo: flags=73<UP,LOOPBACK,RUNNING>  mtu 65536
        inet 127.0.0.1  netmask 255.0.0.0
        inet6 ::1  prefixlen 128  scopeid 0x10<host>
        loop  txqueuelen 1000  (Local Loopback)
        RX packets 654  bytes 252979 (247.0 KiB)
        RX errors 0  dropped 0  overruns 0  frame 0
        TX packets 654  bytes 252979 (247.0 KiB)
        TX errors 0  dropped 0 overruns 0  carrier 0  collisions 0


wlan0: flags=4163<UP,BROADCAST,RUNNING,MULTICAST>  mtu 1500
        inet 192.168.0.199  netmask 255.255.255.0  broadcast 192.168.0.255
        inet6 fe80::b66f:695d:c114:2d3  prefixlen 64  scopeid 0x20<link>
        ether d0:37:45:6e:5c:80  txqueuelen 1000  (Ethernet)
        RX packets 540132  bytes 74288299 (70.8 MiB)
        RX errors 0  dropped 12  overruns 0  frame 0
        TX packets 355  bytes 173470 (169.4 KiB)
        TX errors 0  dropped 0 overruns 0  carrier 0  collisions 0
Now that it is working, I can disconnect the eth0 and continue working on the wlan0.
Installing CUPS with AirPrint support
Installing CUPS is quite easy. I’m installing it together with the printer driver “printer-driver-splix” as that’s needed for my Samsung laser printer. Assuming that previous steps has been done and the system is up to date, we can install CUPS and giving the user pi rights for using CUPS:
$ sudo apt-get install avahi-discover cups cups-pdf python-cups printer-driver-splix
$ sudo usermod -aG lpadmin pi
After installing we have to make sure that that the new installed services are running:
$ sudo /etc/init.d/cups start
$ sudo /etc/init.d/avahi-daemon start
Next we need to edit the CUPS configuration to ensure it is listening to port 631. There are more ways to do this, like “Listen *:631” or just “Port 631”.
$ sudo vi /etc/cups/cupsd.conf
Put a # before “Listen localhost:631” and add a line with “Port 631”. It will look like this:
# Only listen for connections from the local machine.
#Listen localhost:631
Port 631
Listen /run/cups/cups.sock
Next we’ll need to adjust the rights for the following options:
# Restrict access to the server…
# Restrict access to the admin pages…
# Restrict access to configuration files…
# Restrict access to log files…
After “Order allow,deny” add “Allow @Local”. It will look like this:
# Restrict access to the server...
<Location />
  Order allow,deny
Allow @Local
</Location>


# Restrict access to the admin pages...
<Location /admin>
  Order allow,deny
Allow @Local
</Location>


# Restrict access to configuration files...
<Location /admin/conf>
  AuthType Default
  Require user @SYSTEM
  Order allow,deny
Allow @Local
</Location>


# Restrict access to log files...
<Location /admin/log>
  AuthType Default
  Require user @SYSTEM
  Order allow,deny
Allow @Local
</Location>
Save the config and restart CUPS:
$ sudo service cups restart
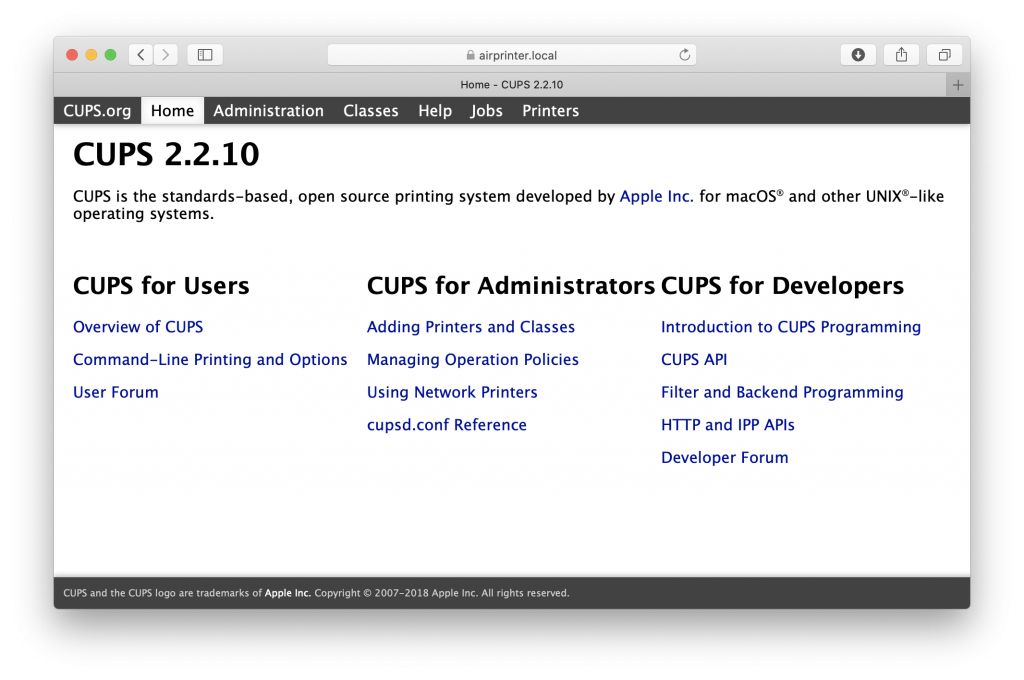
Now you can manage CUPS by going to http://<ip-pi>:632
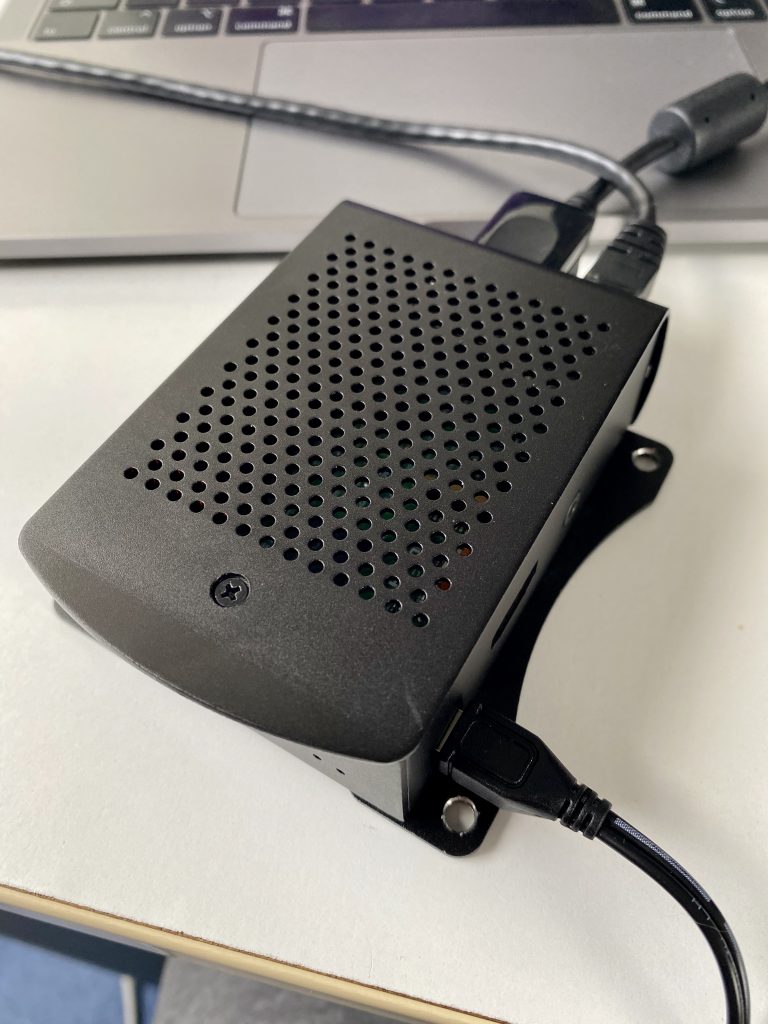
As last step I’ve put the Raspberry Pi in a case which I’ll place behind the printer.
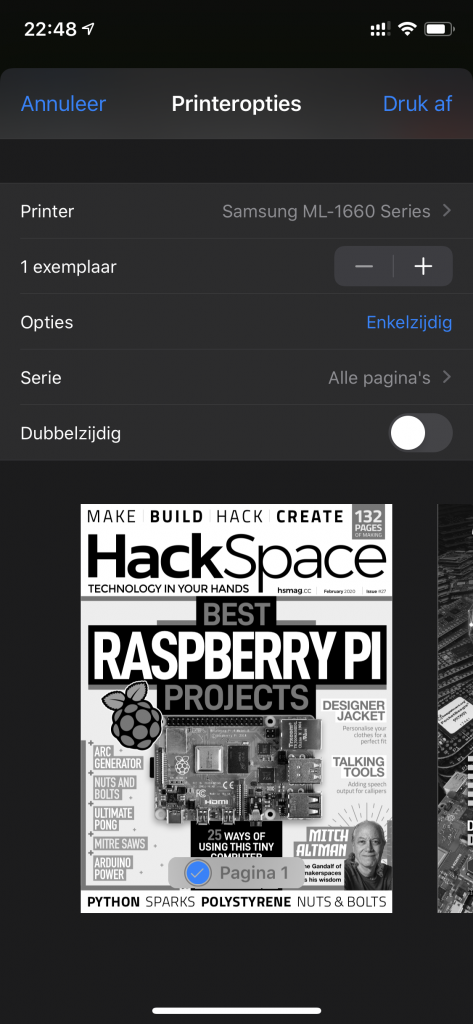
Printing from my iPhone
And finally I can print from my iPhone 😉