After using docker on several Raspberry Pi’s and on my main home-server, I wanted to add som more power to my test environment. So I bought the 4GB Raspberry Pi 4 with an overpriced power adapter: PoE HAT. It costs about 225% of the regular power adapter. Yet as all my switches are equipped with PoE, makes this a lot nicer and cooler to use #nerdmode.
Installing docker and docker-compose
While I never had any issues installing docker and docker-compose, I did noticed some issues with Python version 2.x and 3.x. While both versions was installed, docker-compose wouldn’t install by any means. So after several clean installs on my newly Raspberry Pi 4, I figured out how to avoid this version conflict.
Simple installation steps
For installing docker and docker-compose, I use the following simple steps/commands. First of all I make sure that the Raspberry Pi is up to date:
$ sudo apt update && sudo apt upgrade -y && sudo apt dist-upgrade -y
With raspi-config I change the hostname into something that I can remember. For me this is now dockerpi. When it’s booted, I can use dockerpi.local instead of the IP-address.
After updating, I use these commands to install docker, docker-compose and some required/preferred packages. Notice that I want to uninstall python-configparser as that caused some issues in previous installations. Now you most probably will get the notification that it isn’t installed, as I directly install Python3 and Pip3:
$ sudo apt update && sudo apt upgrade -y
$ curl -sSL https://get.docker.com | sh
$ sudo usermod -aG docker pi
$ sudo apt install libffi-dev libssl-dev python3 python3-pip
$ sudo apt remove python-configparser
$ sudo pip3 install docker-compose
$ reboot
The reboot is only required to be able to execute docker commands as normal Pi user without the sudo command.
Installing Portainer and a default network
After the reboot, you should have a fully working docker environment. I personally always install Portainer on docker, as this gives you a nice web interface. I also create a default network within docker to place all containers in the same network. A lesson that I’ve learned “the hard way”. I ended up with almost each container creating it’s own network, ending up having 20+ networks 🙂
$ docker volume create portainer_data
$ docker run -d -p 8000:8000 -p 9000:9000 --restart unless-stopped --name="Portainer" -v /var/run/docker.sock:/var/run/docker.sock -v portainer_data:/data portainer/portainer
$ docker network create docker
After installation, go to the Portainer page http://dockerpi.local:9000 or http://<ip-of-the-pi>:9000
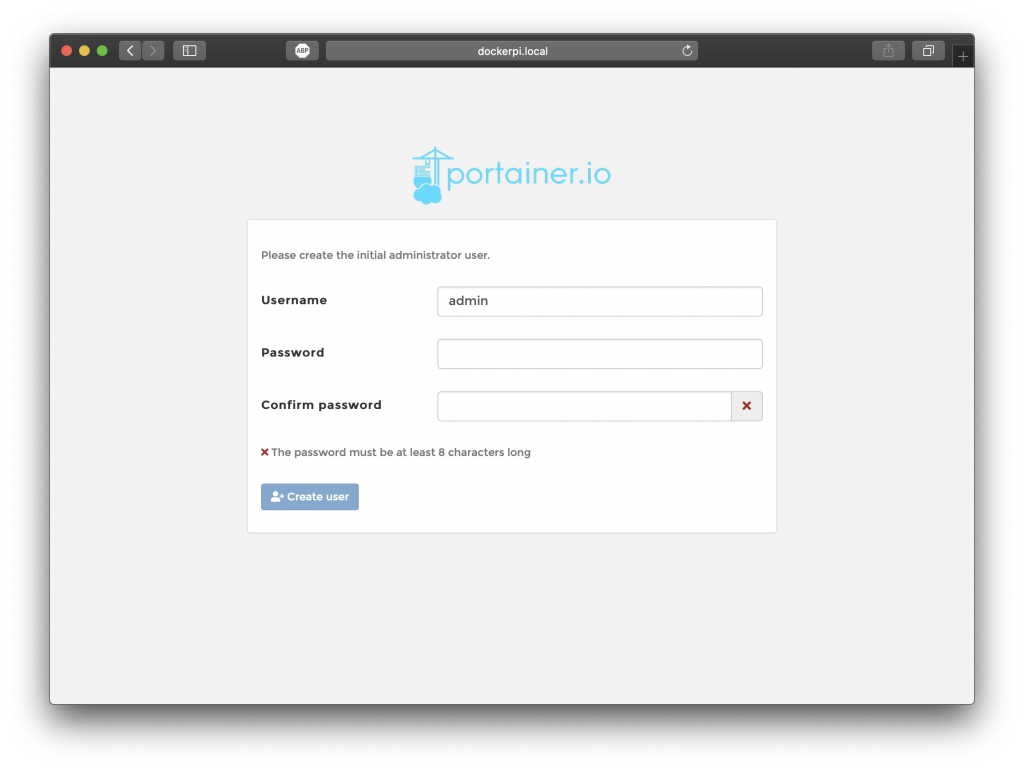
Here you can configure your account. I’d prefer not to use admin as username. Use a different username and your desired password.
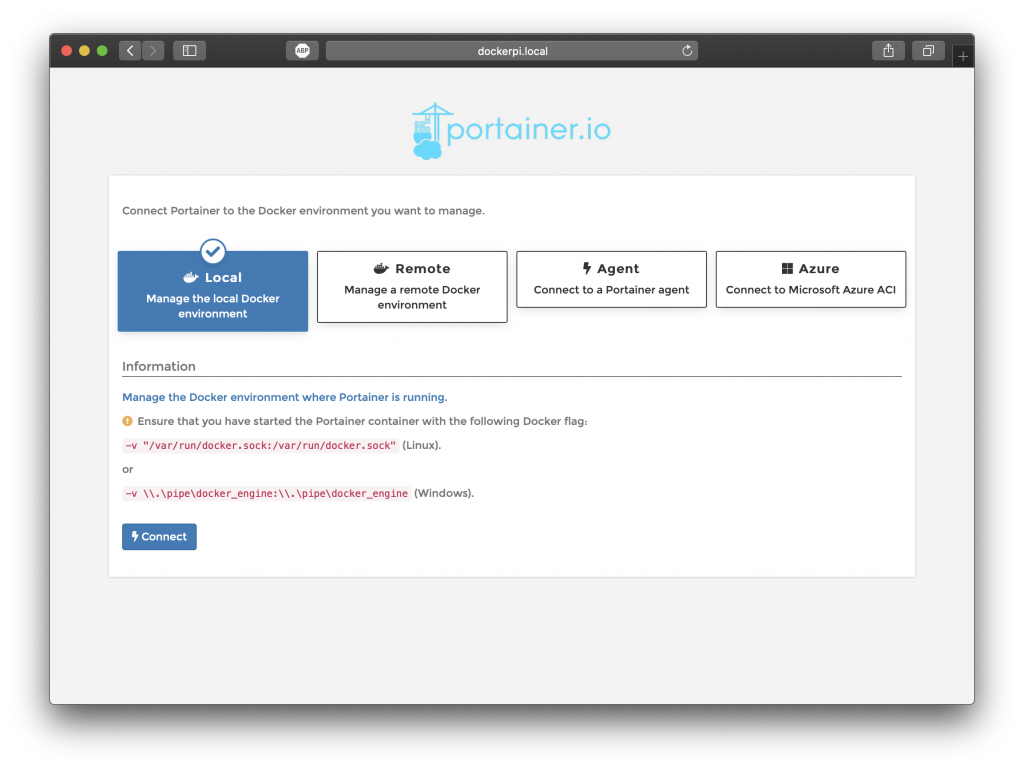
Next stap is to configure how to use Portainer. As I use it as a local test setup, this would be my choice:
Finish
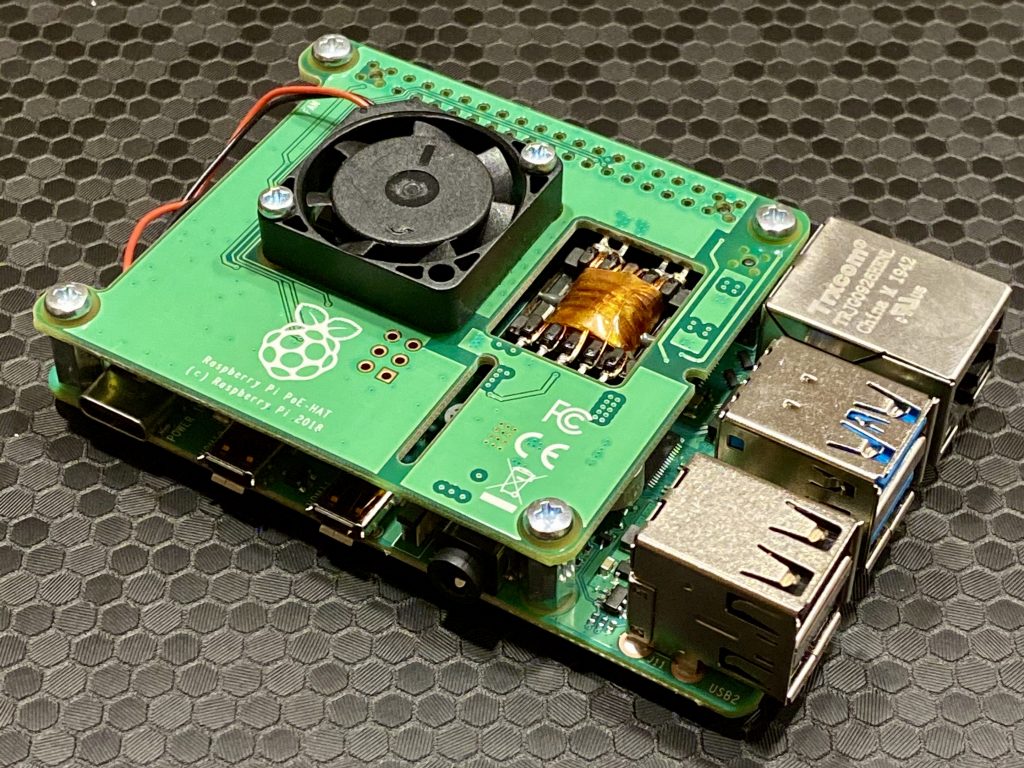
And done! You have now a fully working docker environment with docker-compose. To wrap it up, one last shot of the Raspberry Pi 4 with the PoE HAT installed:
Andy
docker wont pull the Image for me and gives me an Error message:
“Error response from daemon: Get https://registry-1.docker.io/v2/: dial tcp 0.0.0.0:443: connect: connection refused”
Marcel
You mean the portainer part? That’s old and you should install the new portioner-ce:
docker volume create portainer_datadocker run -d -p 8000:8000 -p 9000:9000 --name=portainer --restart=always -v /var/run/docker.sock:/var/run/docker.sock -v portainer_data:/data portainer/portainer-ce